Step 1
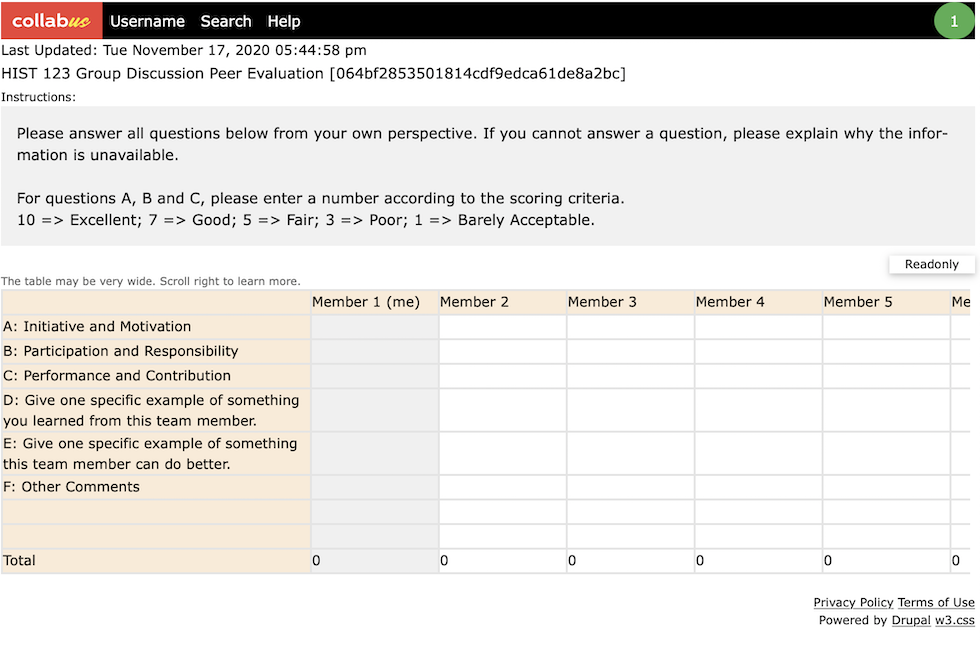
Suppose you have opened a brand new table as shown below. For instructions about how to create Collabus tables, click here.
Step 2
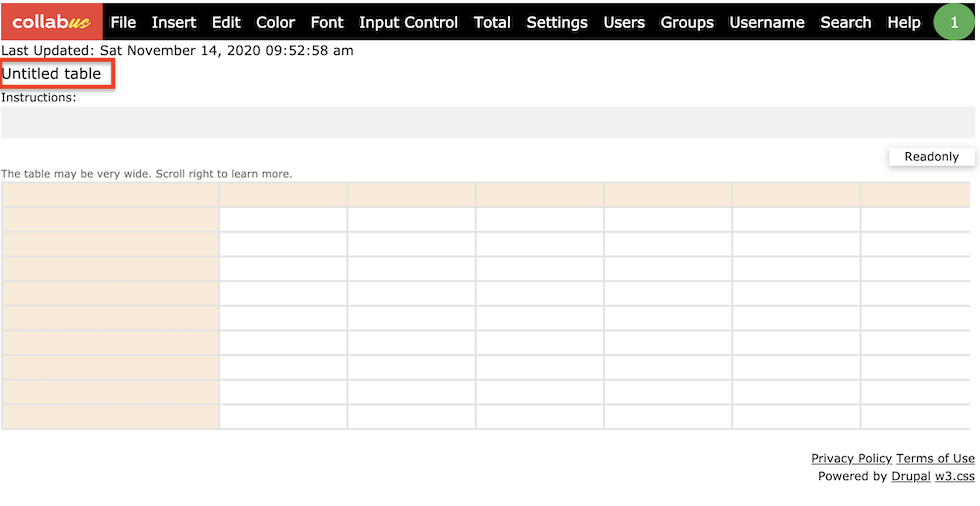
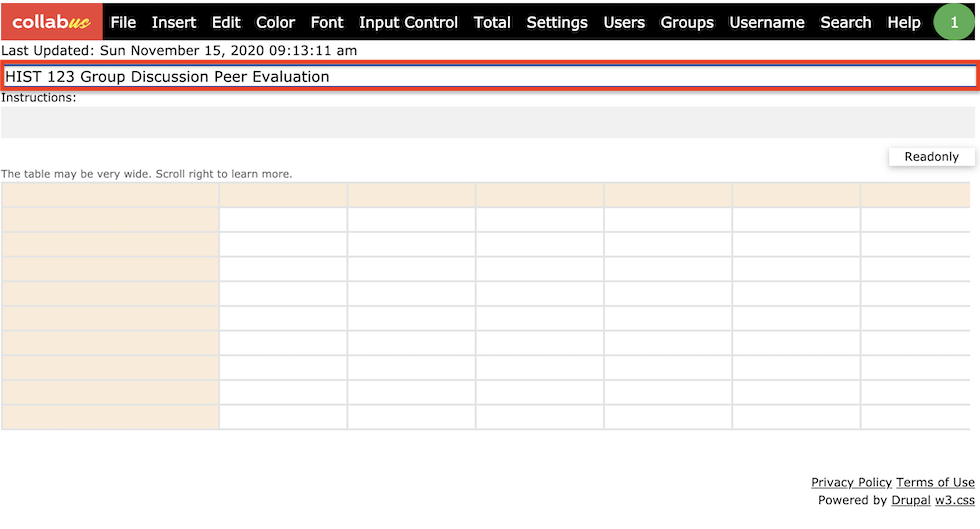
Double-click "Untitled table" to name the table. As shown below.
Step 3
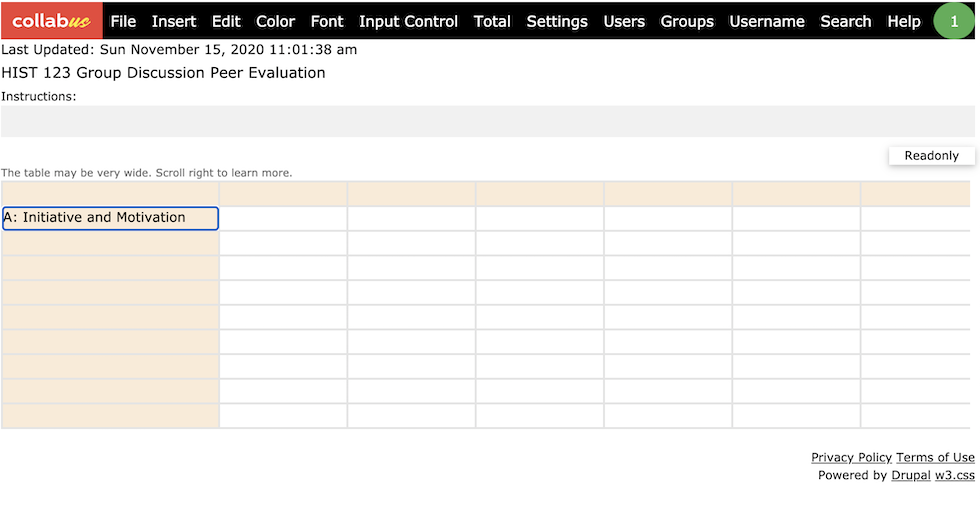
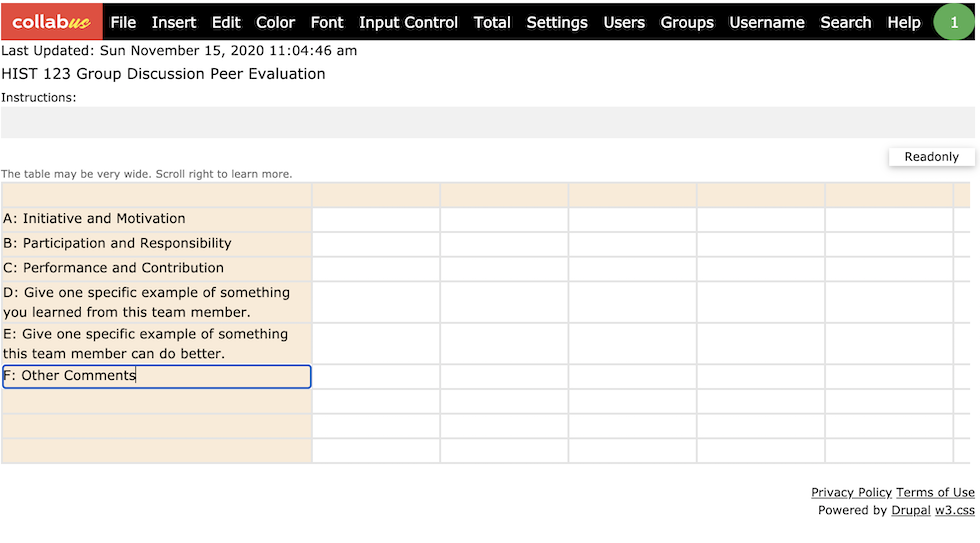
Now, enter your questions.
The questions must be entered in the first column and start in the second cell. As shown below.
Step 4
Keep typing your questions until all the questions are entered. As shown below.
Step 5
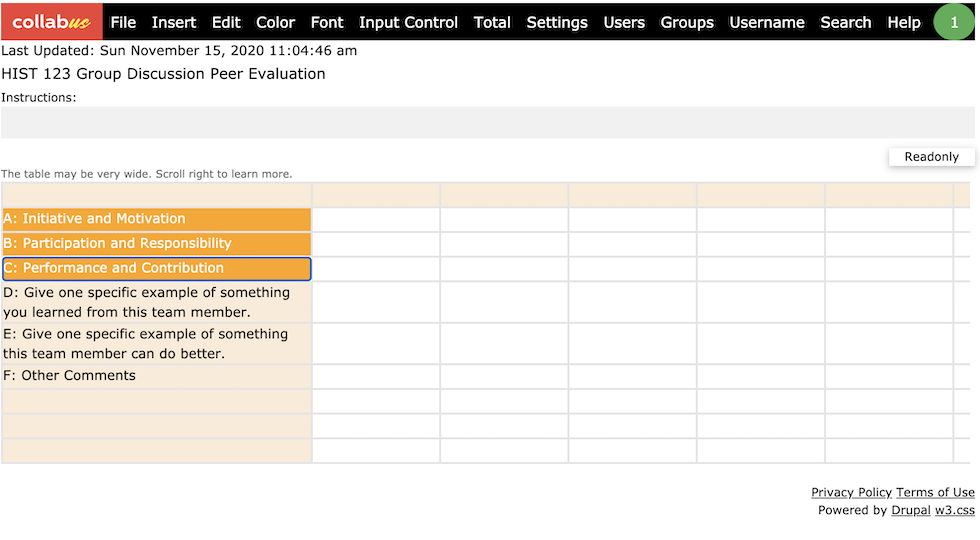
Assume that the first three rows will accept numbers only. Let's format them.
Selection the cells as shown below.
Step 6
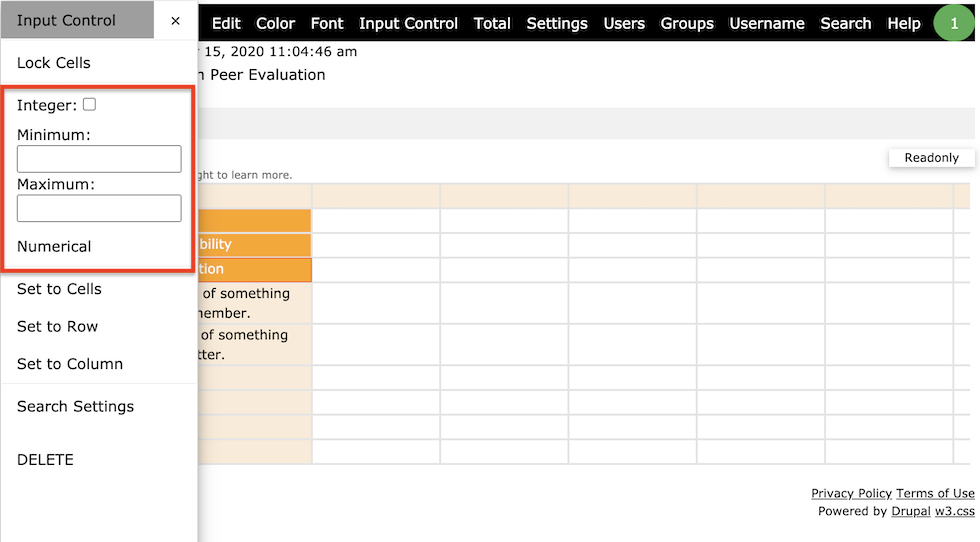
Click the "Input Control" button on the top navigation bar. Then, the "Input Control" sub menu opens. As shown below.
Step 7
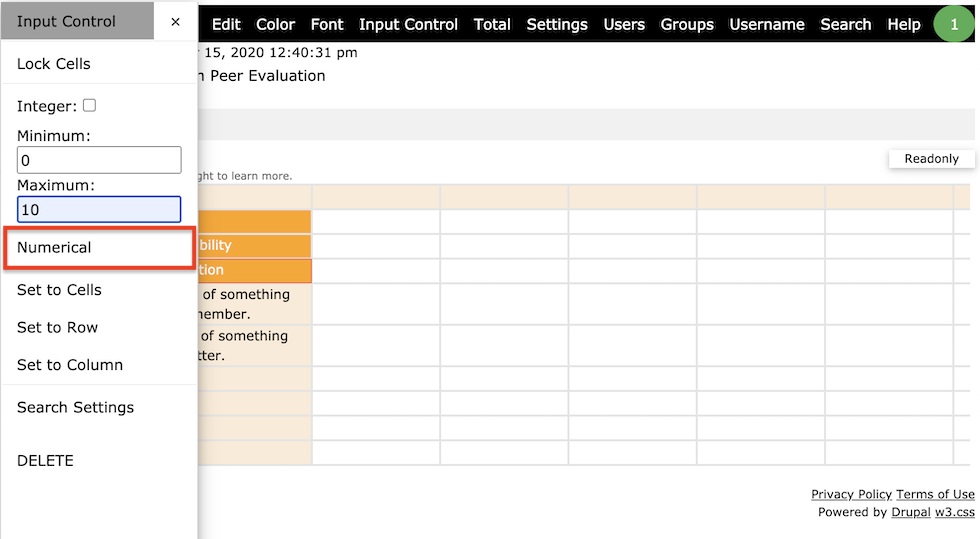
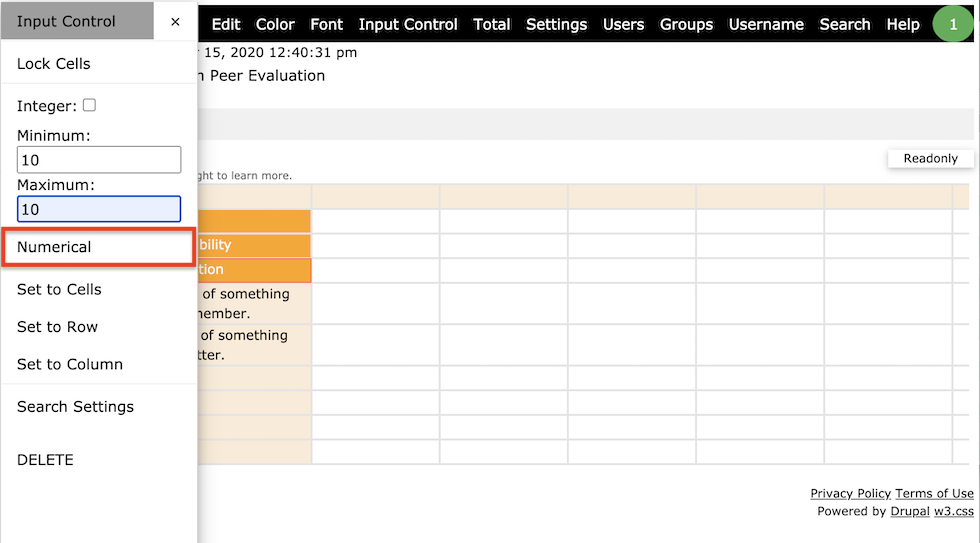
The area highlighted in red (refer to the screenshot above) is used to control the input of the selected cells. Enter 0 and 10 for "Minimum" and "Maximum", respectively. This means that only numbers between 0 and 10 (inclusive) are allowed (Likert Scale). You may have a different number range for your design.
Important Notice: If you want to use the Michaelsen method, you will need to enter the same number in the "Minimum" and "Maximum" fields, and then the users will be guided to share a pool of points. The number you entered is called the base point. For more information about how it works, please visit How to complete your peer evaluation table/form.
Step 8
Click "Numerical", the selected cells, text box fields, and the "Numerical" and "Set to Cells" buttons are now highlighted in green. This means that the input control has been applied to the selected cells.
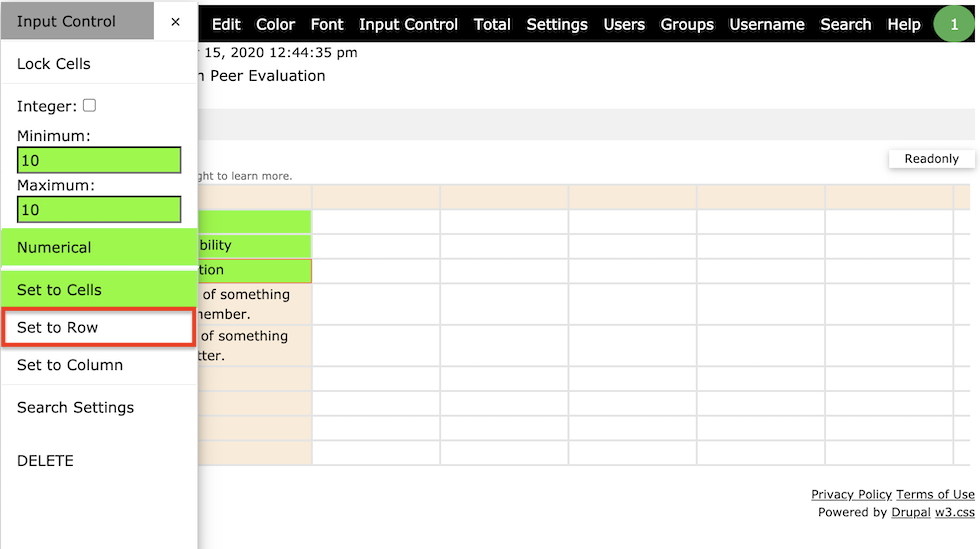
Tip: Click "Set to Cells" again will delete the setting. Click "Numerical" again will toggle the setting, but it will delete the numbers in the "Min" and "Max" fields. For instructions on how to format input controls please visit How to set up number only input controls for cells, rows or columns.
Step 9
Click "Set to Row", the three rows are now highlighted in green. This means that the same setting has been applied to the selected rows. As shown below. THIS STEP IS NECESSARY!
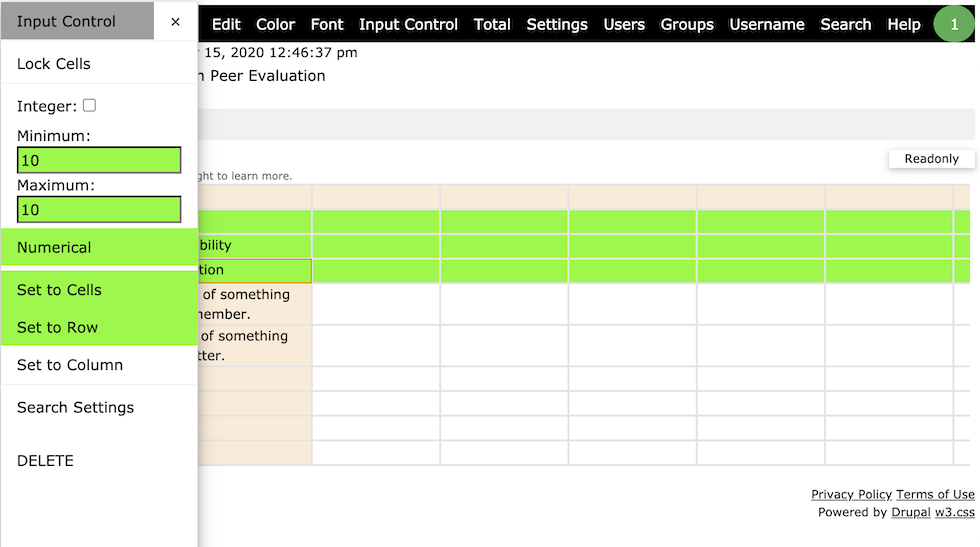
Tip: Click "Set to Row" again will toggle the setting to the selected rows.
Note: For steps 5 to 9, you can process it one row at a time and specify a different number range for each row as needed.
Step 10
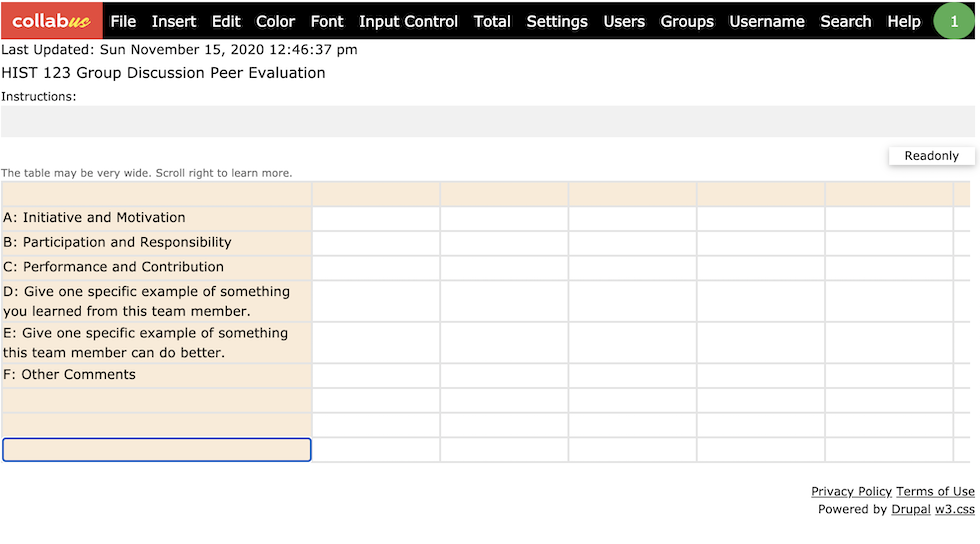
Now, we need to add a function to automatically calculate the total number of inputs for each column.
Click the last cell of the first column. As shown below.
Step 11
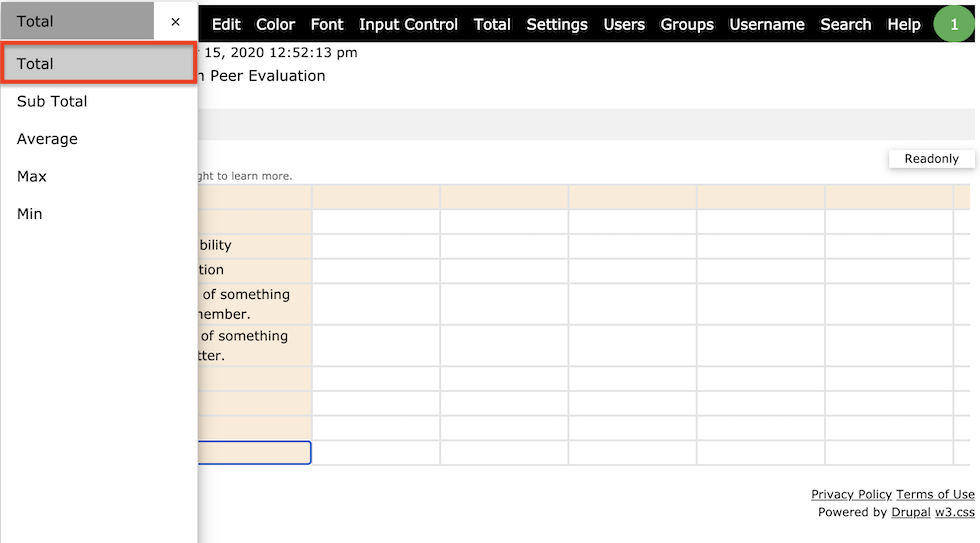
Click "Total" on the top navigation menu, then the "Total" sub menu appears, as shown below.
Step 12
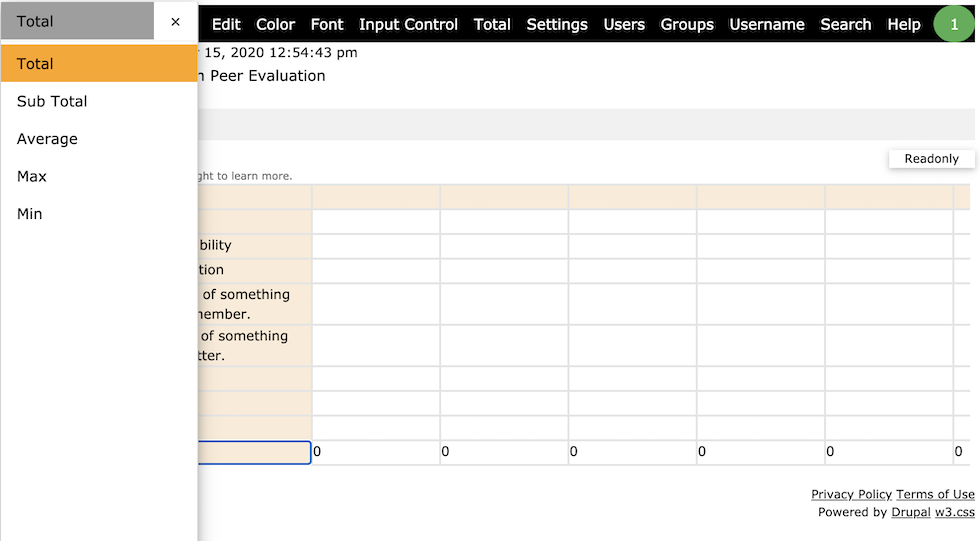
Click "Total" highlighted in orange, the total function should be added to that row.
Step 13
Now, we need to add instructions for your users.
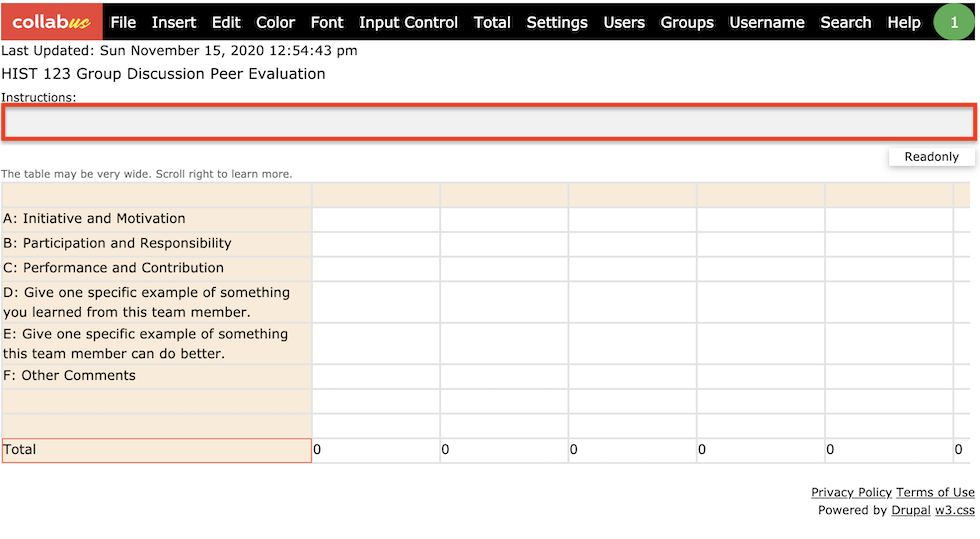
Double-click the gray area as shown below. A text box with RTE editor will open.
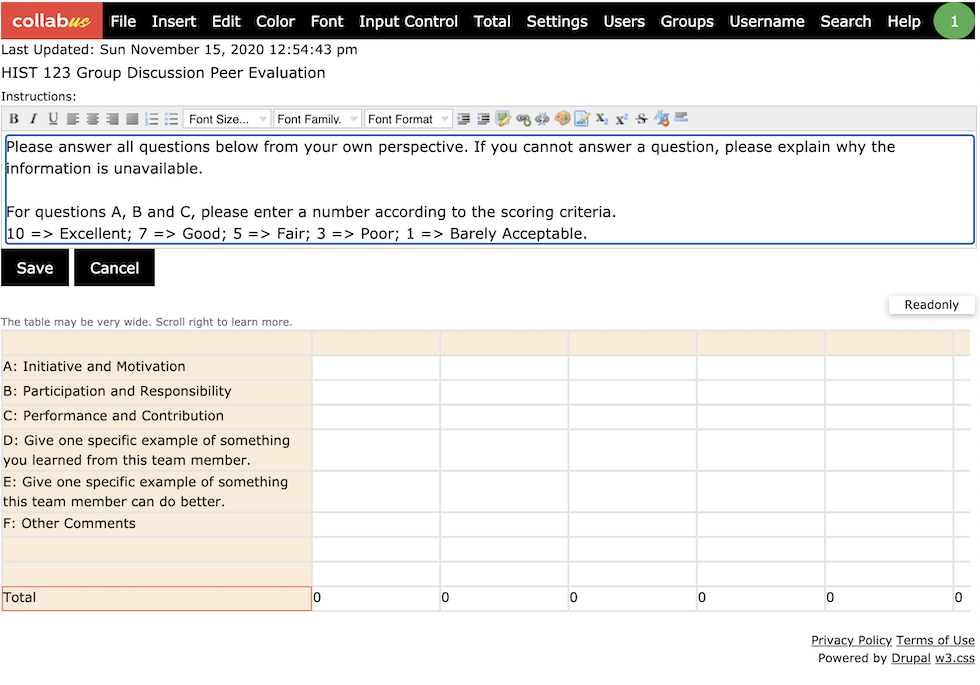
Enter your instructions now. As shown below.
Step 14
1) add some dates to the table.
Please note that you must enter a date for the due date field. After the due date, your users will be able to view the report. If no date is specified for the due date, the user will never see the report.
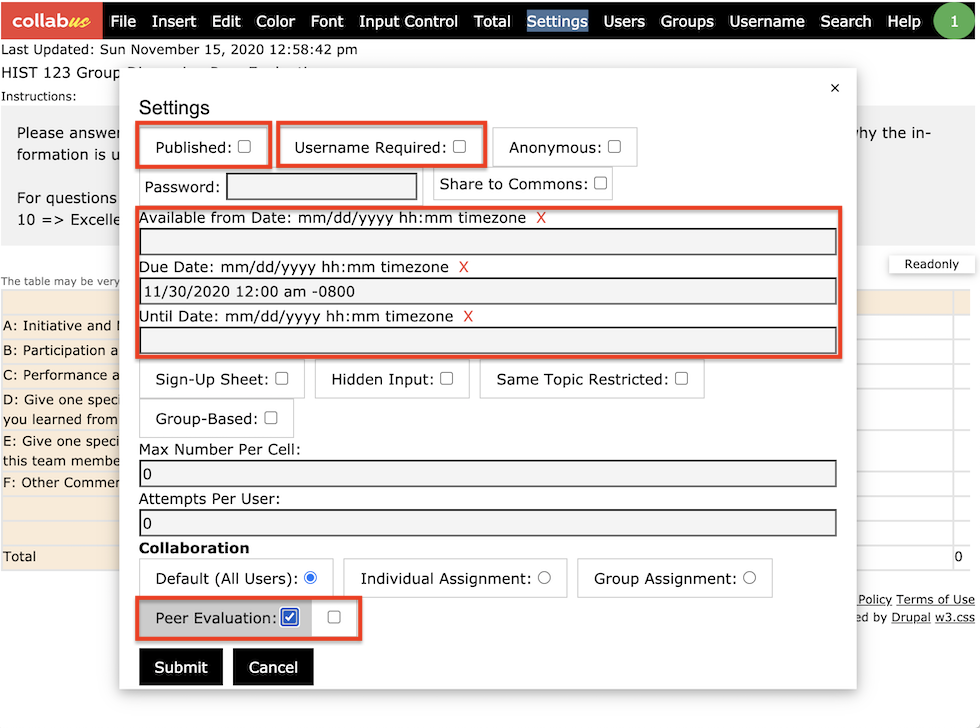
2) check the checkboxes for "Published", "Username Required", and "Peer Evaluation", if you want to allow self-evaluation, please also check the other checkbox next to "Peer Evaluation".
3) Save/Submit
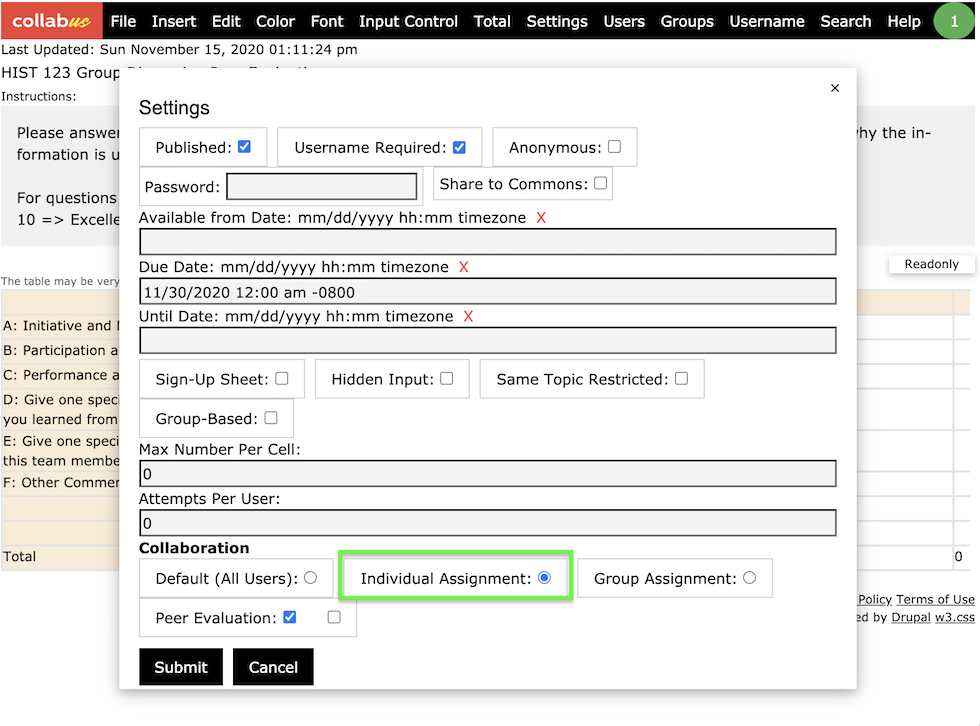
Note, once saved, the "Individual Assignment" radio button is automatically selected, indicating that this is an individual work. See the screenshot below.
The following is what the peer window looks like.
