Step 1
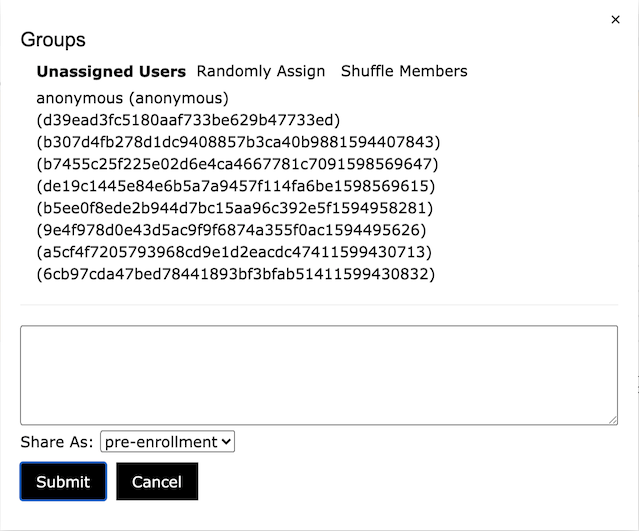
Click "Groups" on the top menu bar, and then the "Groups" window appears. If there are already some users. Your window should look like the screenshot below.
Step 2
Create three groups: Type group 1, group 2, and group 3 in the text box on its own row.
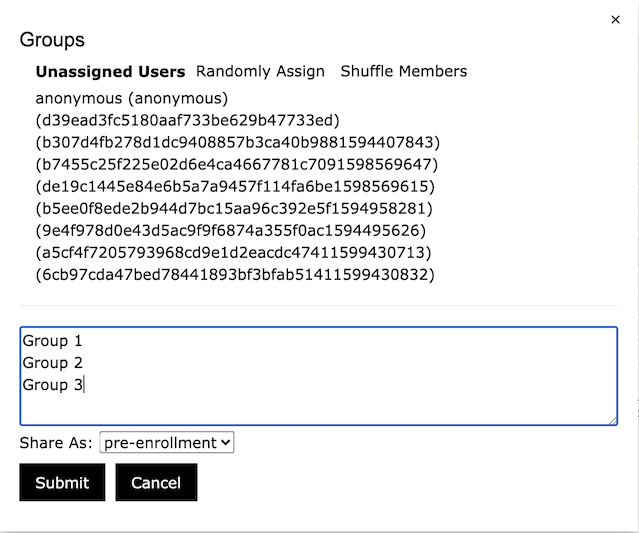
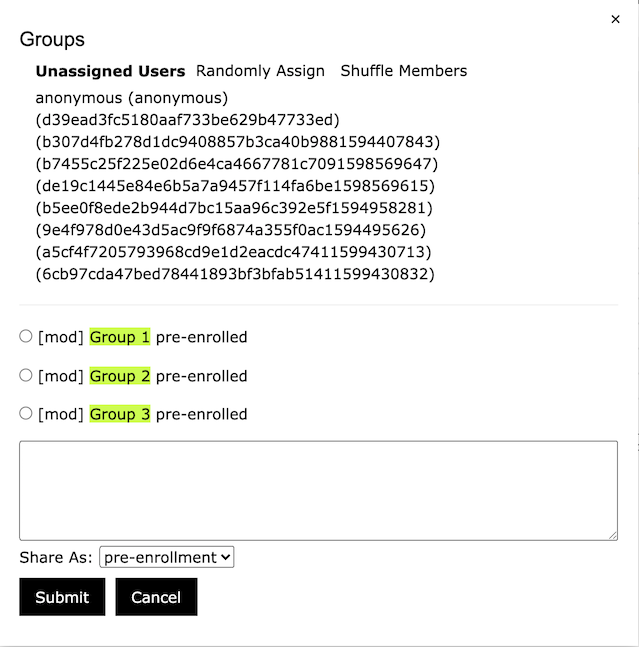
Now click Submit.
Step 3
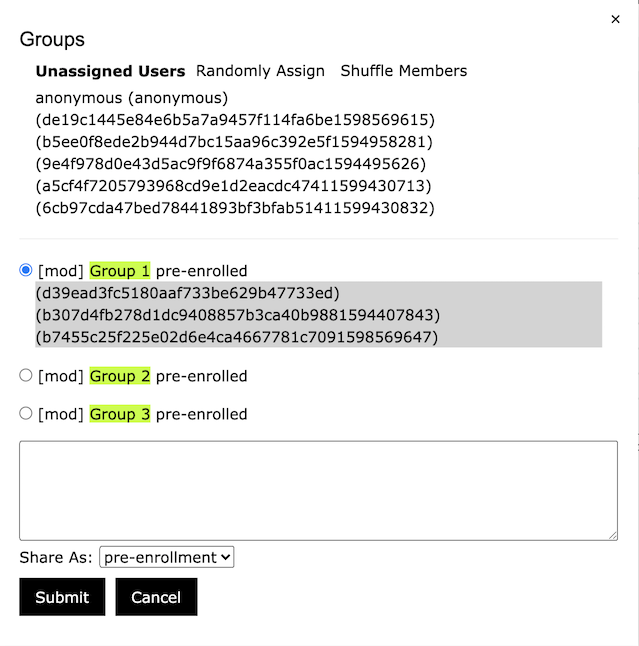
Click a user name, the user name will be highlighted in yellow (which means the user has been selected), and a button labeled "Add" will be displayed in the upper right corner of the "Unassigned Users" area. Then, check the radio button next to the group name of your choice (only one can be selected as active). Now your window should look like the one below.
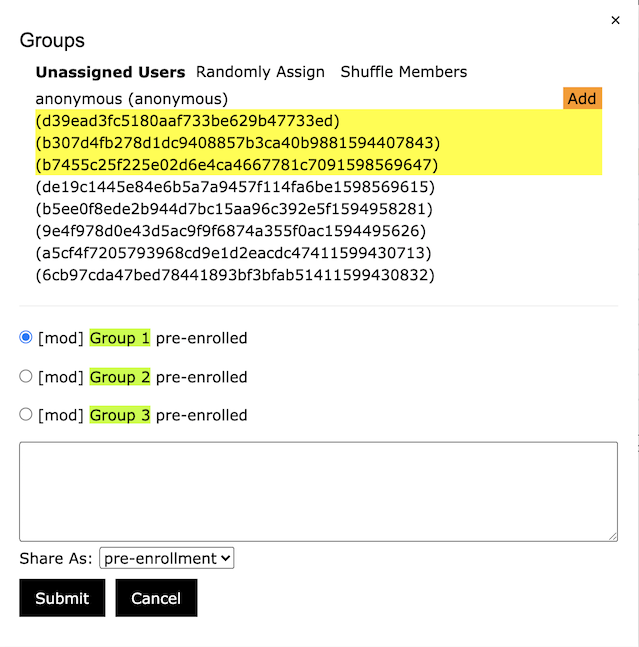
Click "Add" and the highlighted user should be added to the group you selected.
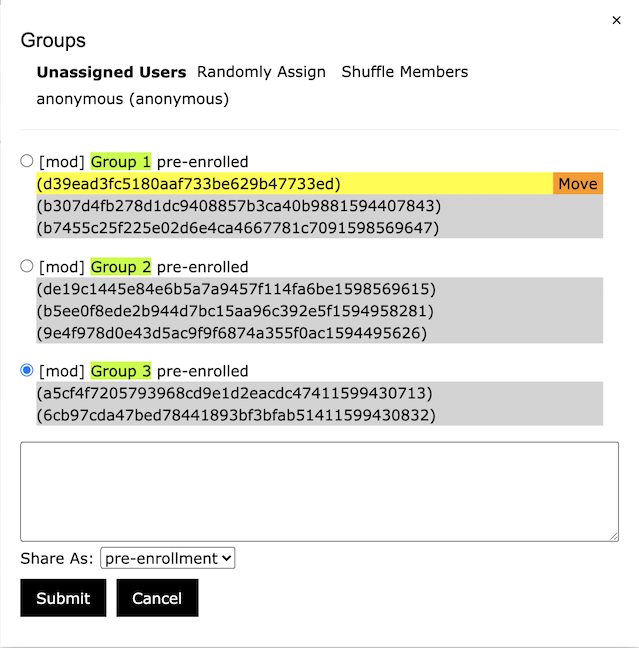
Repeat this process until all users are assigned to a group. You may want to make an adjustment. To do this, click on a user, the user will be highlighted and a button labelled "Move" appears in the upper right corner of the group area. See the screenshot show below. Click "Move", the user will be moved to the selected group (Group 3 in this example).
Step 4
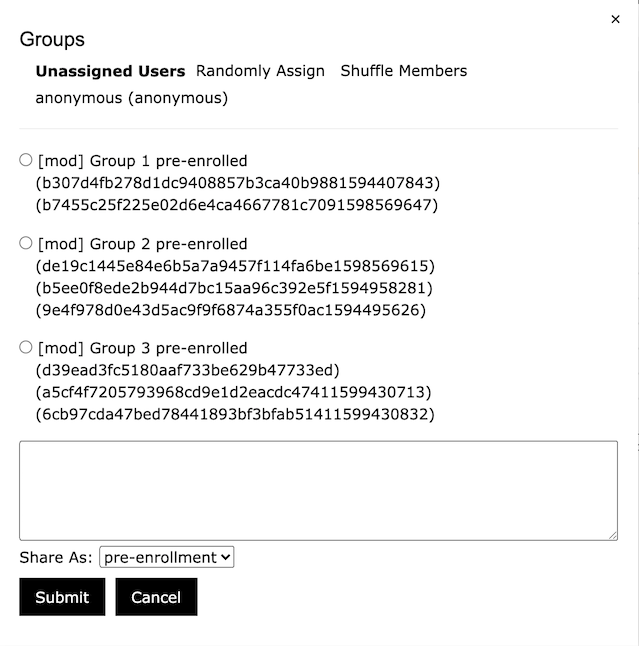
Click Submit. Your final window should look like this below.
Note: This function is only available to users with designer access rights.
